Sometimes an idea uttered between laughing fits during a team meeting can catch fire and lead to something wonderful. This time, however, it led to us deciding to build an air cannon to launch dinner rolls, so you can safely and quickly deliver food to your loved ones while maintaining proper social distancing.
“Looks like someone's ready for seconds...”
This is why nerds are not supposed to make friends; too many in one place will inevitably result in ideas like this.
Letting the idea proof
This all started with a quick chat that went something like this:
Jesse: I think we should do a project for Thanksgiving. Something with sound engineering and a funny premise, where we can have fun and talk about Bommer.
James: A lot of people are building COVID candy chutes for Halloween. Maybe something like that, for delivering dinner to granny at the other side of the table?
Jesse: That's an idea, but I feel like it could be a bit more extra.
Enter our good friend Corrigan Nolan
Corrigan: Hear me out, but I think you're going to like this:
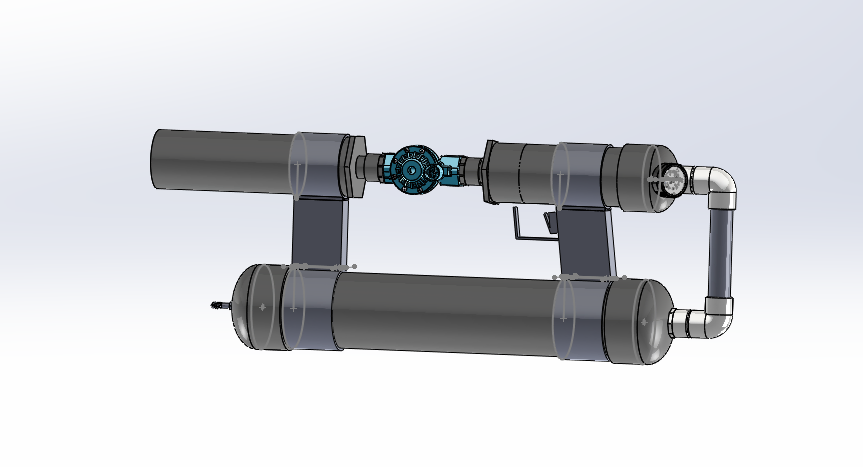
We're listening
Corrigan then began to pitch us on a compressed air cannon that uses a pressure chamber and reducer to deliver multiple payloads of dinner rolls directly to the hungry family member or friend. Needless to say, we loved the idea. So here's how it works and what we did to design and build it.
The "knead to know"
You can see an overview of the project and the design by watching this video, recorded during a conference call between myself, James, and Corrigan.
Go on, we'll wait. It's worth the 9 minutes.
As seen in the video, this cannon (affectionately named the "Assault Thankful") uses a large (size 4) PVC pipe to hold compressed air pushed in via a bike pump valve inserted into the pipe end cap. It then moves pressure across a size 1 connecting pipe into a size 3 pipe that is closed with a sprinkler valve. Opening the valve will release enough pressure to launch one "food payload" out of the size 3 pipe barrel. The goal was to achieve multiple shots by precisely timing the sprinkler valve but we've since punted on that and installed a valve on the size 1 connecting pipe to let us meter out a shot (as measured by the air pressure gauge) before firing.
According to Corrigan, PVC was chosen "because it is a cheap commodity that is built to handle air or water under pressure". He is using a sprinkler valve for the same reason, commenting that "sprinkler valves are built to be normally closed under pressure. Other solenoid valves would work, but these valves are cheap and there's a Home Depot just down the street so if it doesn't work, I'm out like $12 bucks". We hadn't set a cost target for this build (which would have been a mistake if we were actually designing this for mass production!) but we commend Corrigan on his frugality.
Rising to the occasion
Corrigan did the design in Autodesk Fusion 360, using Bommer (of course) to build the bill of materials:
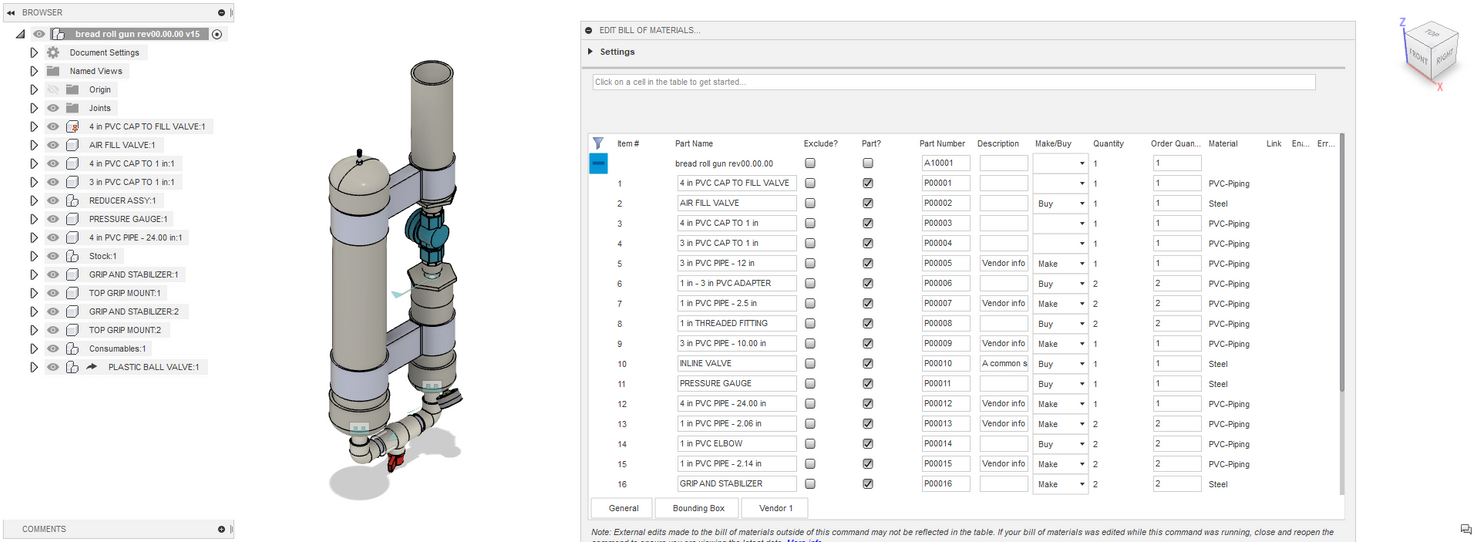
The BOM is pretty straightforward, with basic information (e.g. part name, quantity, material, dimensions) and vendor information, but I wanted to highlight a couple really cool BOM automation tricks from the latest version of Bommer that he used to save time and prevent potential errors:
Formula driven part names
Corrigan embeds part data (like length and diameter of the pipe) in his part names, so that he has an easy reference when he is buying, cutting, and assembling the PVC parts. The challenge with this approach is that he now needs to remember to update his part names when he changes geometry in the design. To solve this, he used Bommer formulas to compute part names from actual design data, such as with the pressure chamber which is named to include the Bommer properties that contain the length (Longest Dimension) and the diameter (Middle Dimension) that pipe:
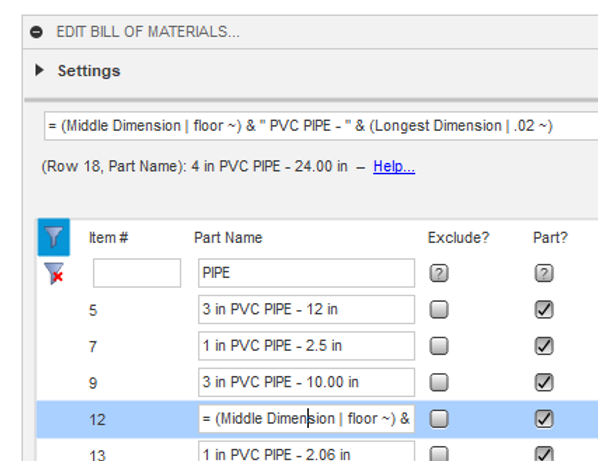
The formula for naming PVC pipes includes the length and diameter
That way, if/when he changes the length of the PVC pipes in the design, for example, he can click a button and recompute the actual Fusion 360 part names in his design to match. Very cool way to save time.
Formula driven work instructions
Corrigan also used formulas to save himself some potential headaches when it comes time to build. This one is awesome. Corrigan setup his BOM to include an Operation text field (under the Post Processing tab) to his BOM, which he uses this to capture secondary operations that need to be performed on a part (such as drilling the end cap to receive the size 1 connecting pipe). Here's the cool part: Corrigan wrote his operation instructions with a formula that includes the design parameter PVC_IC, which is the outer diameter of the connecting pipe:
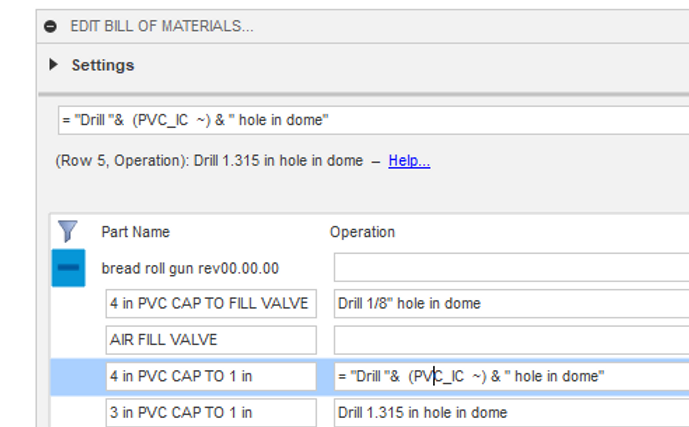
This formula includes the diameter of the hole to drill
When he exports his BOM today, the instruction for that end cap say "Drill 1.315 in hole in the end cap". If he changed that parameter to 1.9" (to use size 1.5 pipe instead), the instructions will be automatically updated to say "Drill 1.9 in hole in the end cap". This removes a whole class of potential errors from his build process. Freaking amazing.
Are you bready for this?
This is real, and this is happening. Last weekend, Corrigan used Bommer to export the BOM from Fusion 360 as a shopping list, and he and James met (socially distanced, of course) to start building this cannon:
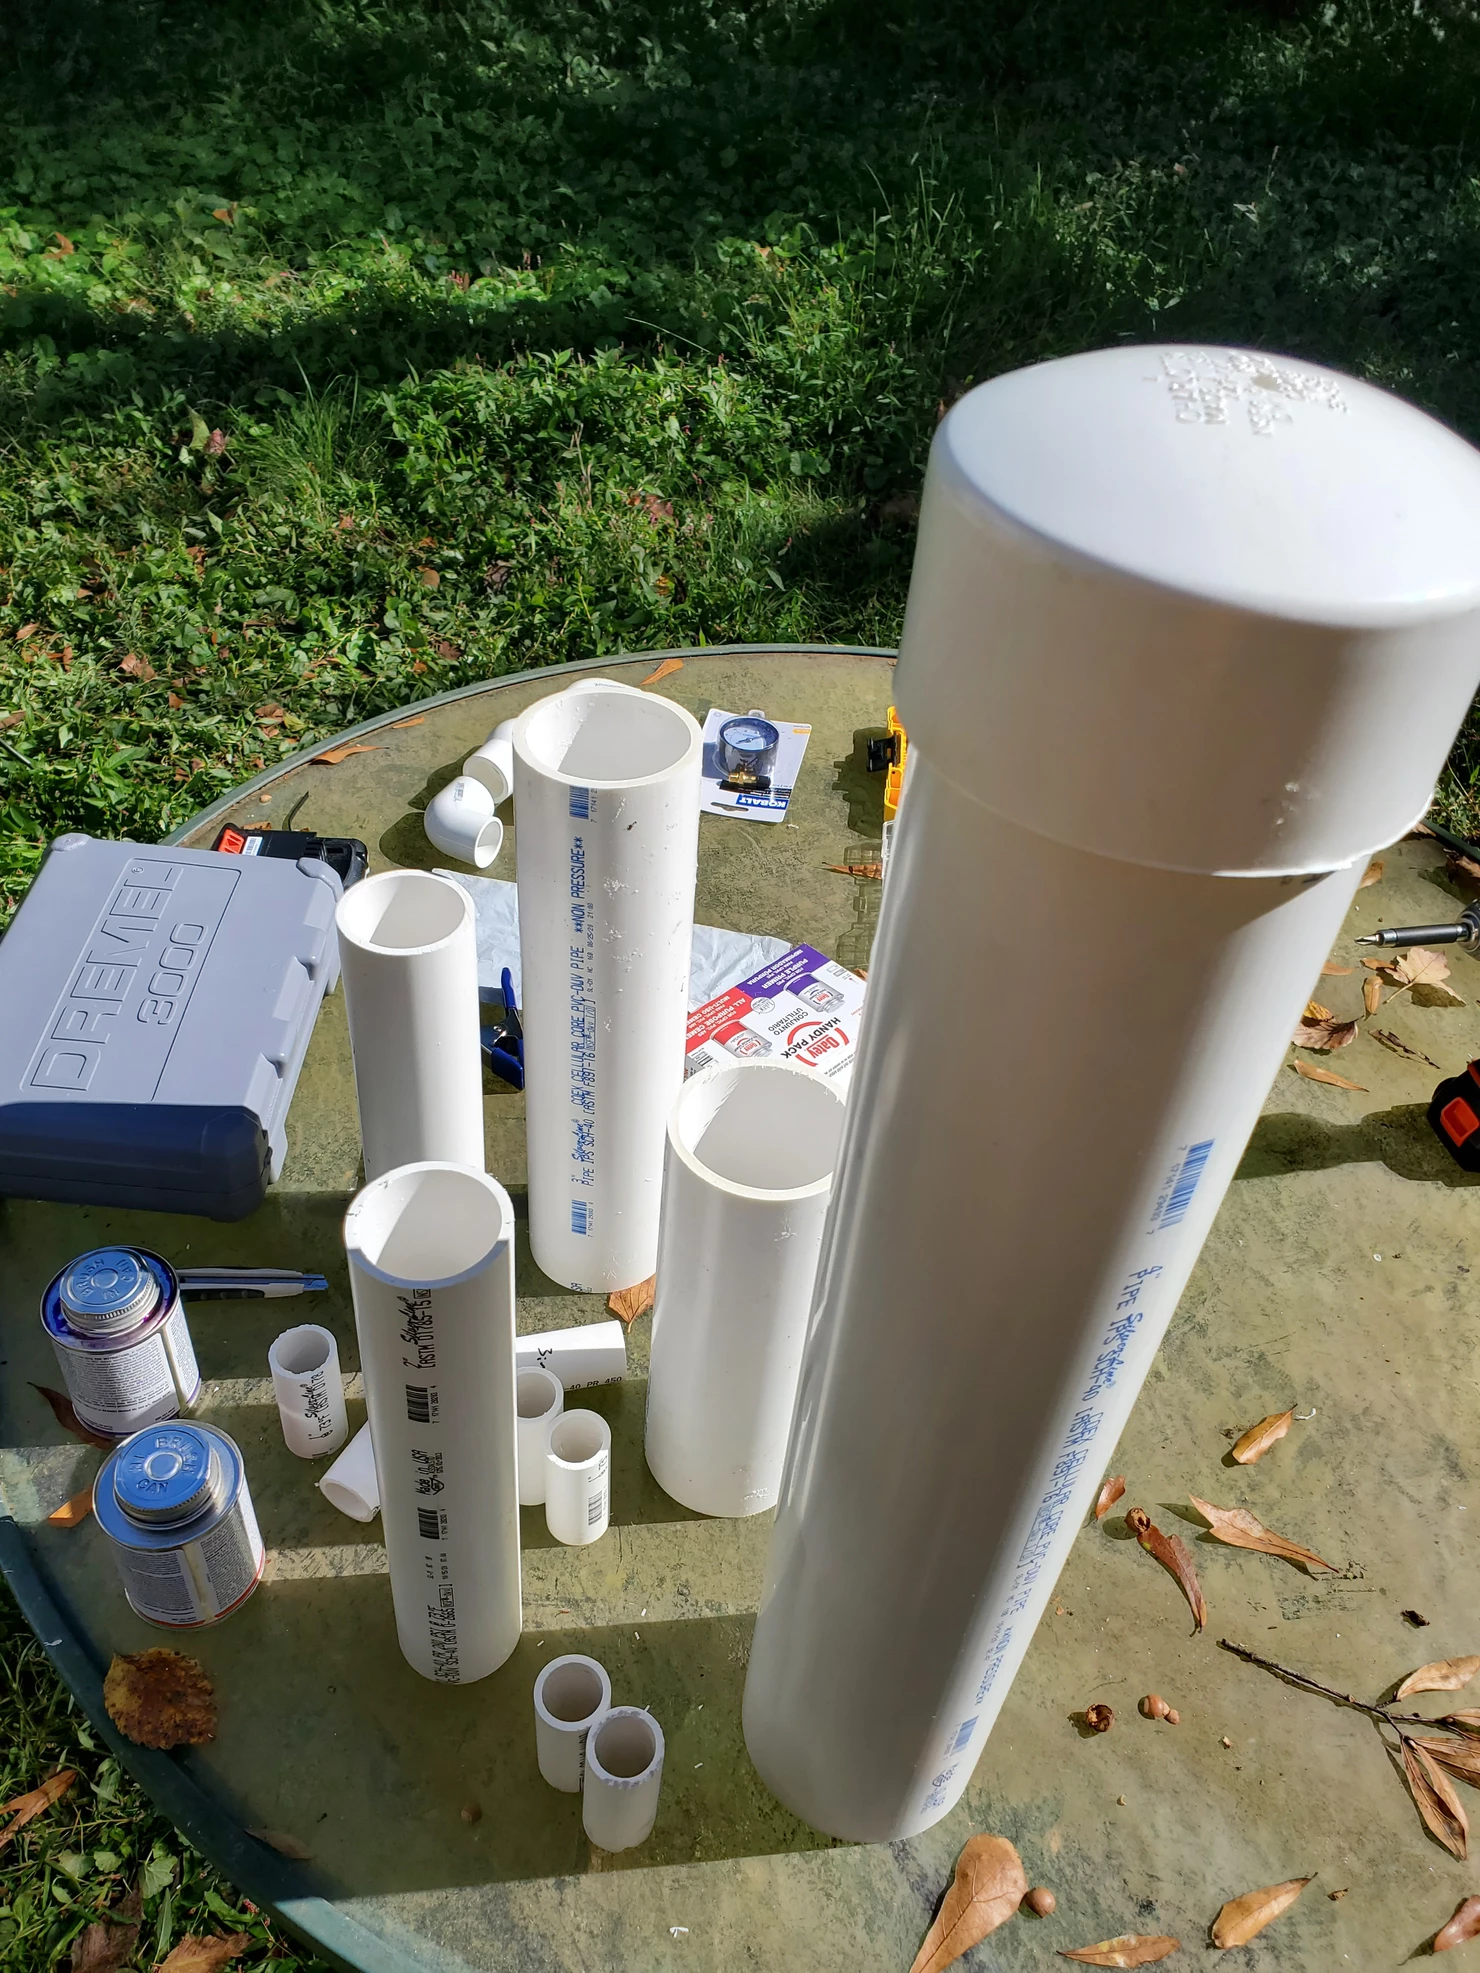
Lengths of pipe cut and staged
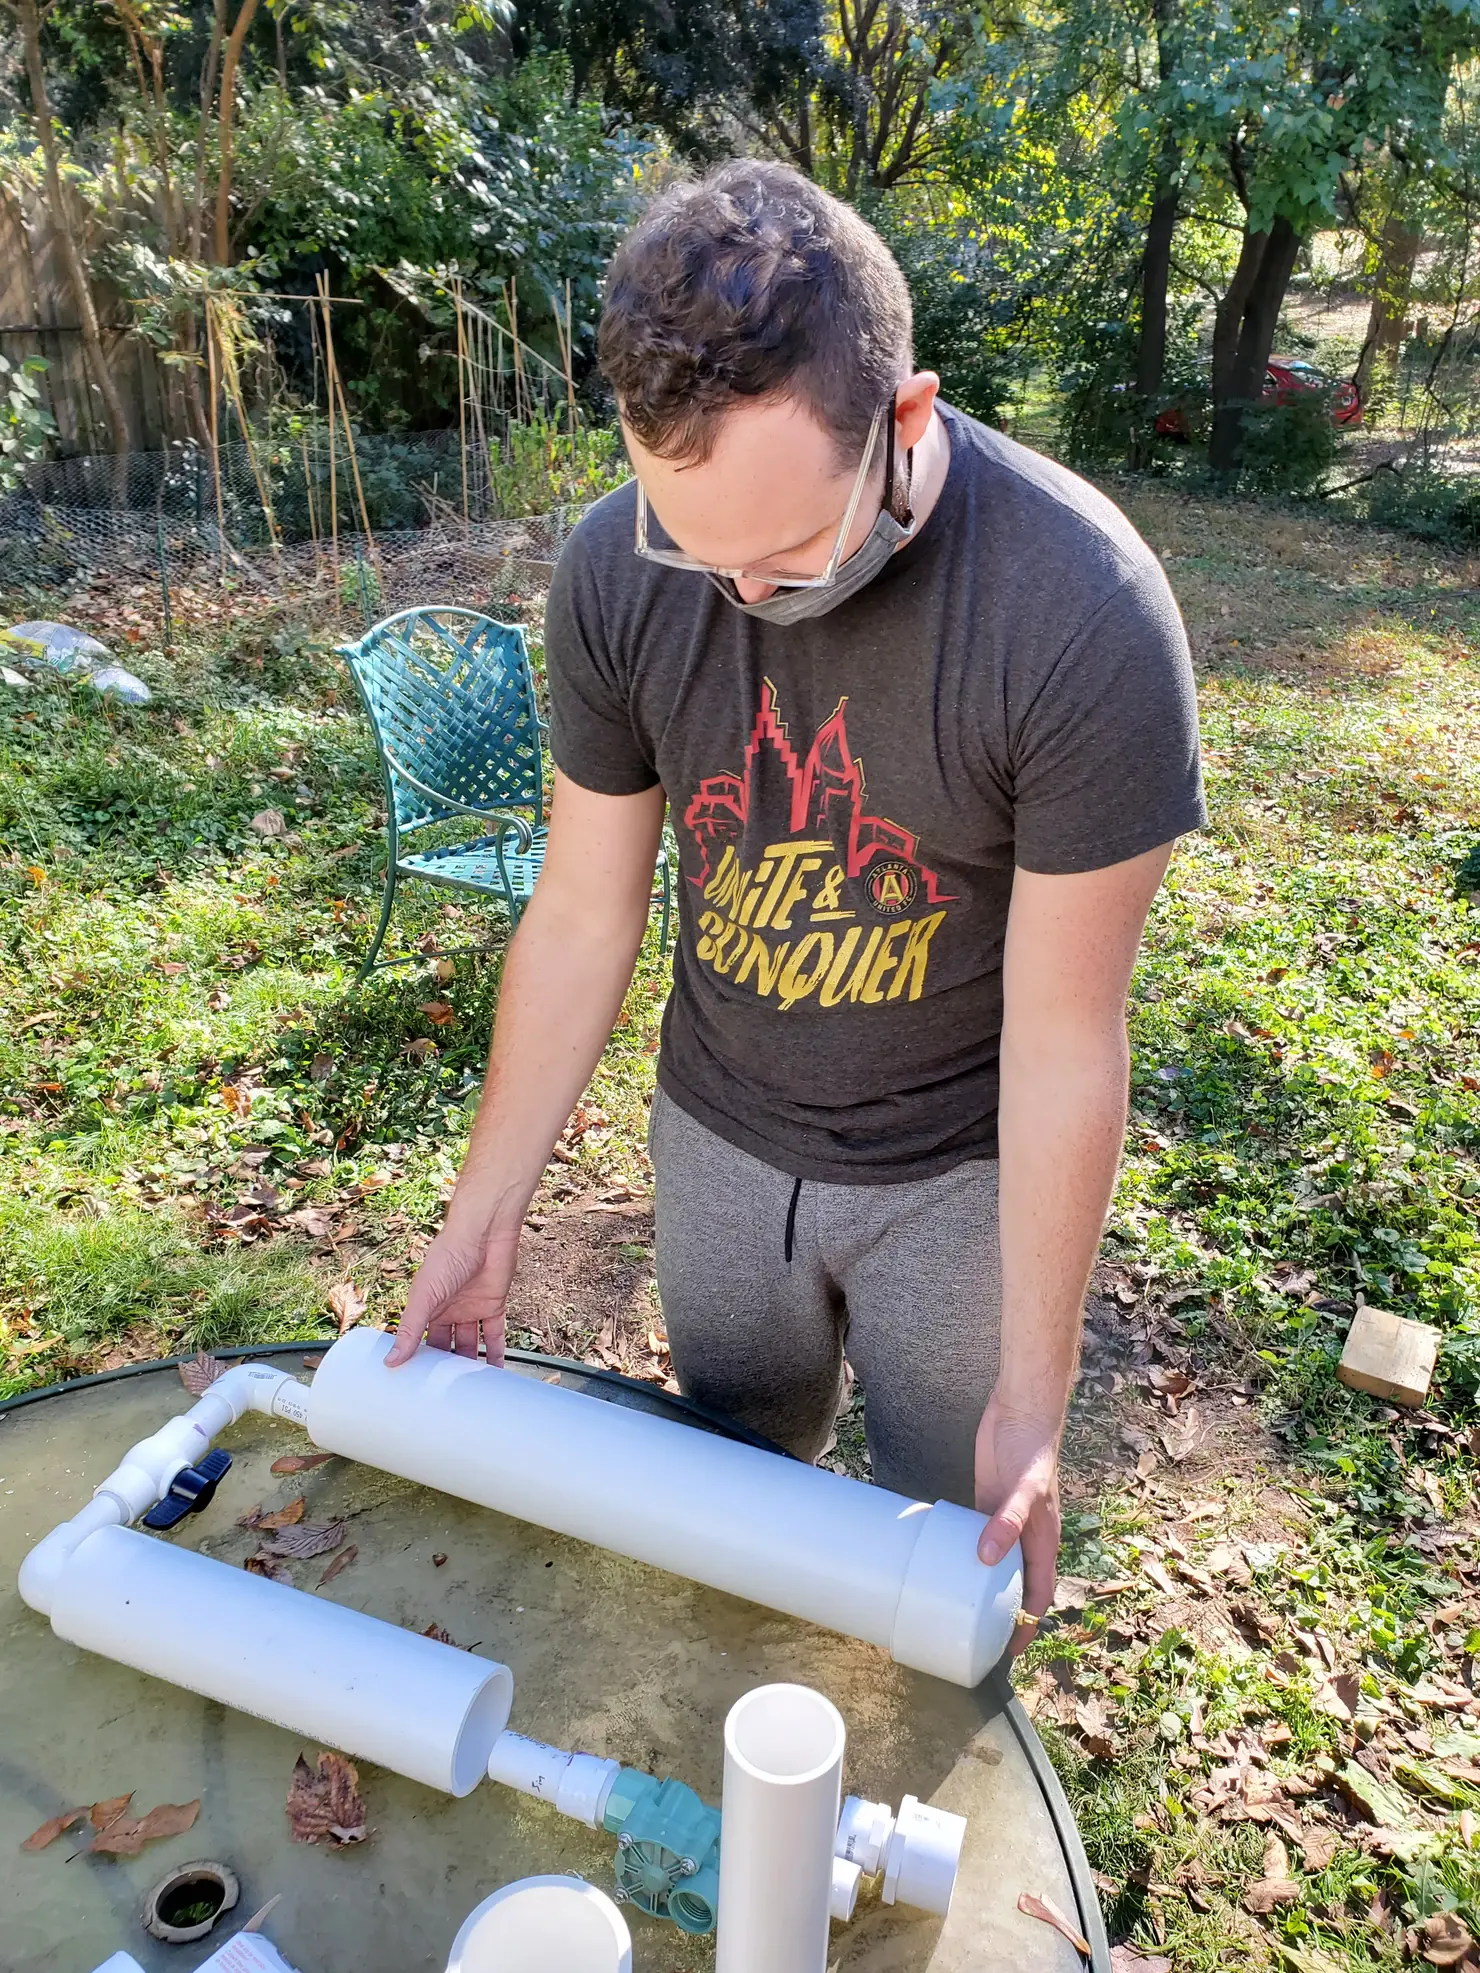
Corrigan laying the parts out to test for fit
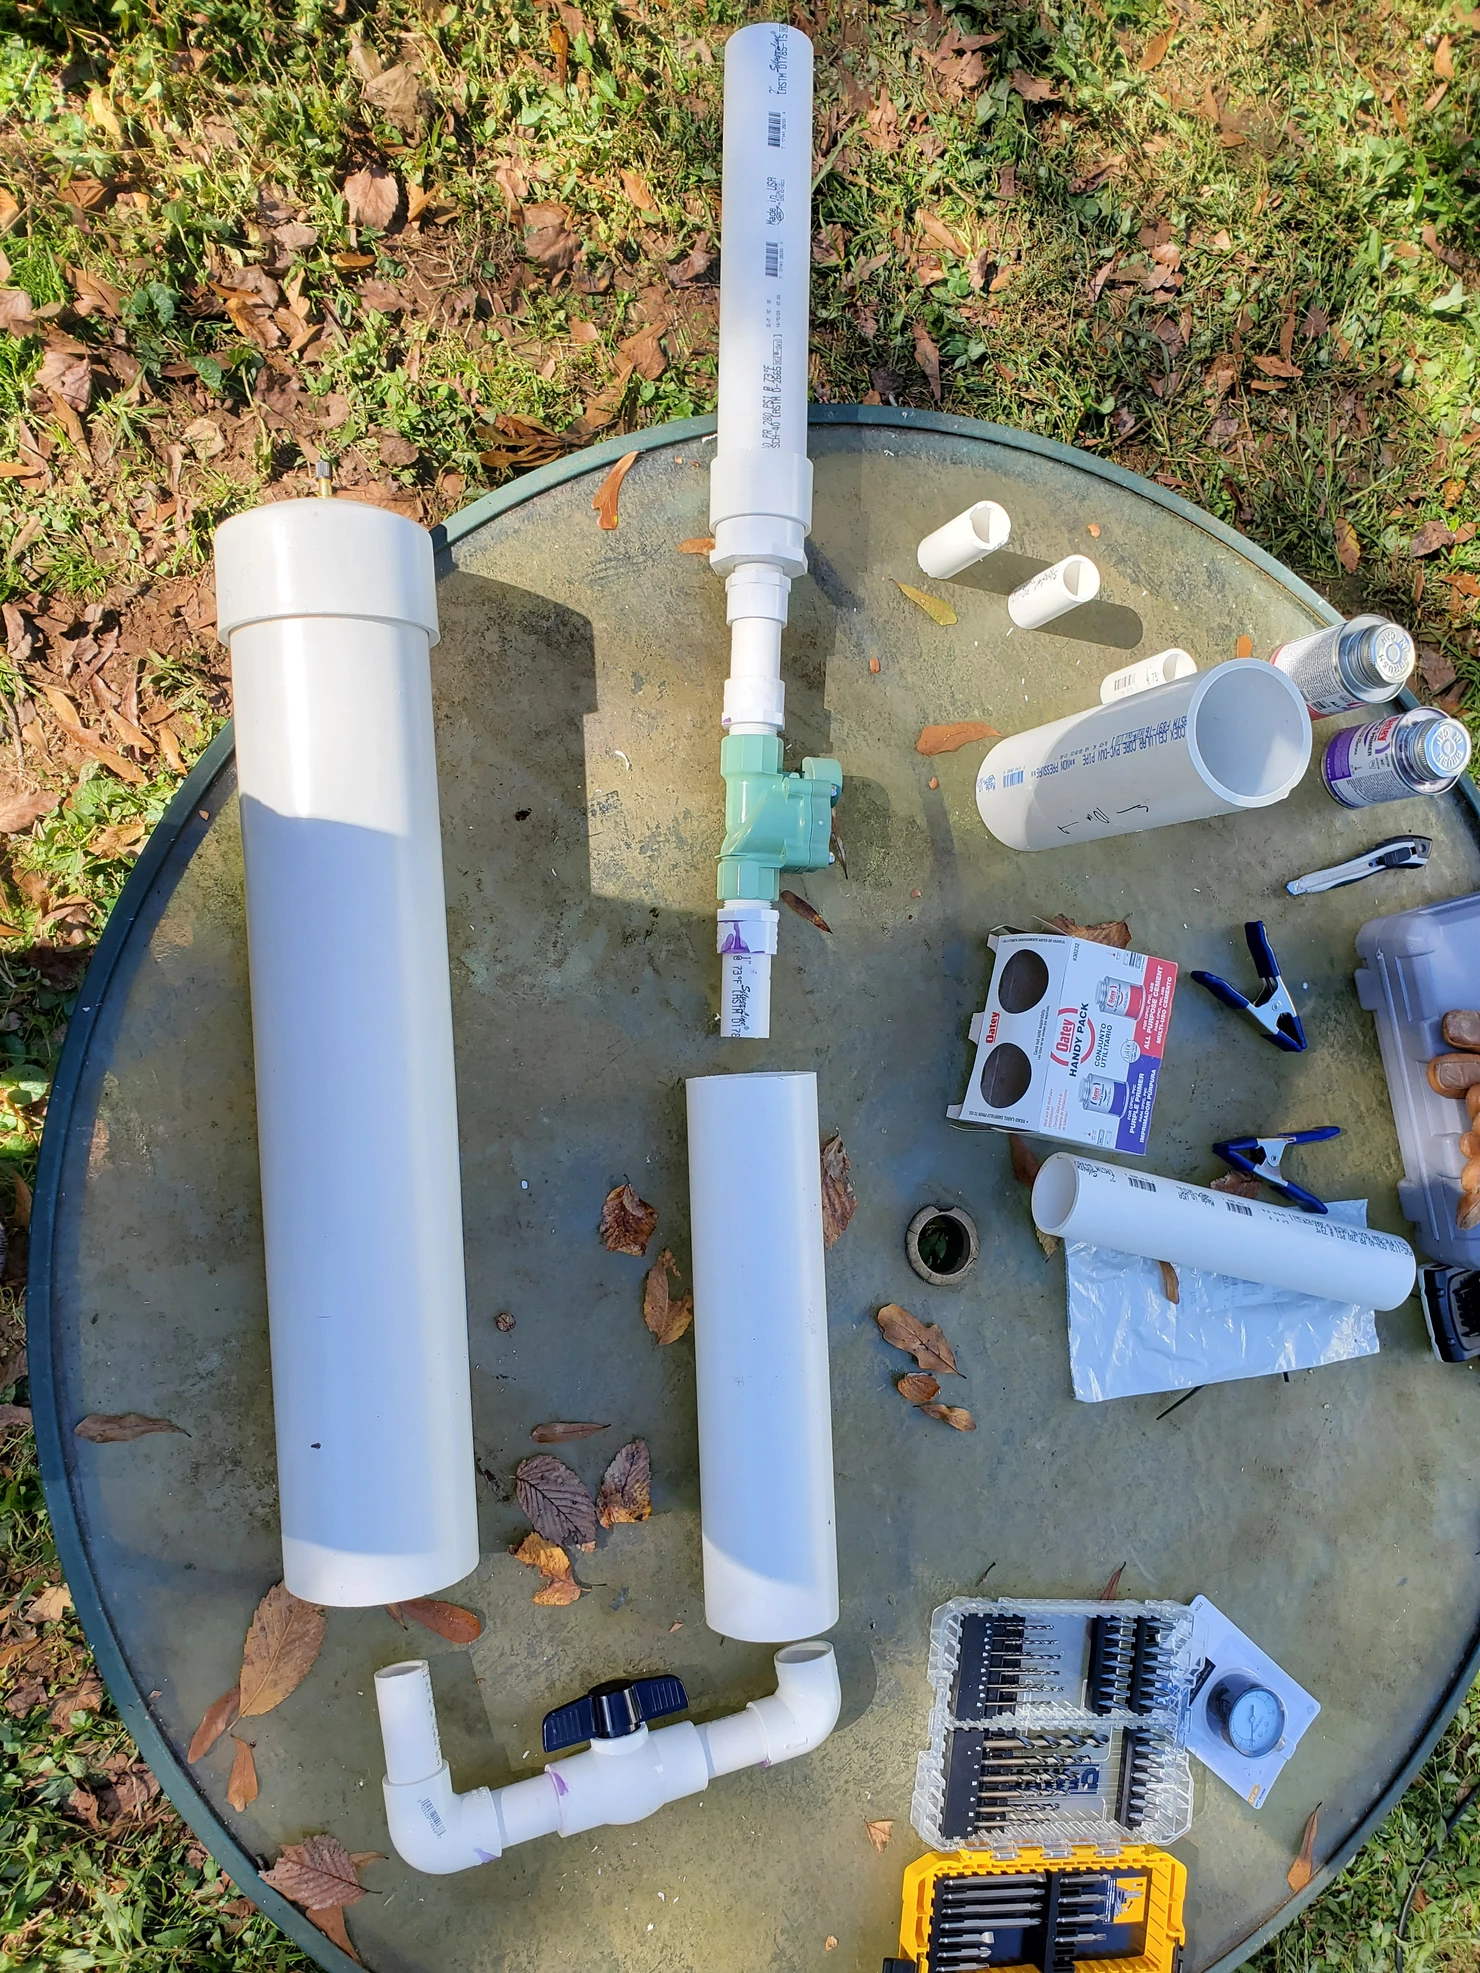
All PVC parts, mid-assembly
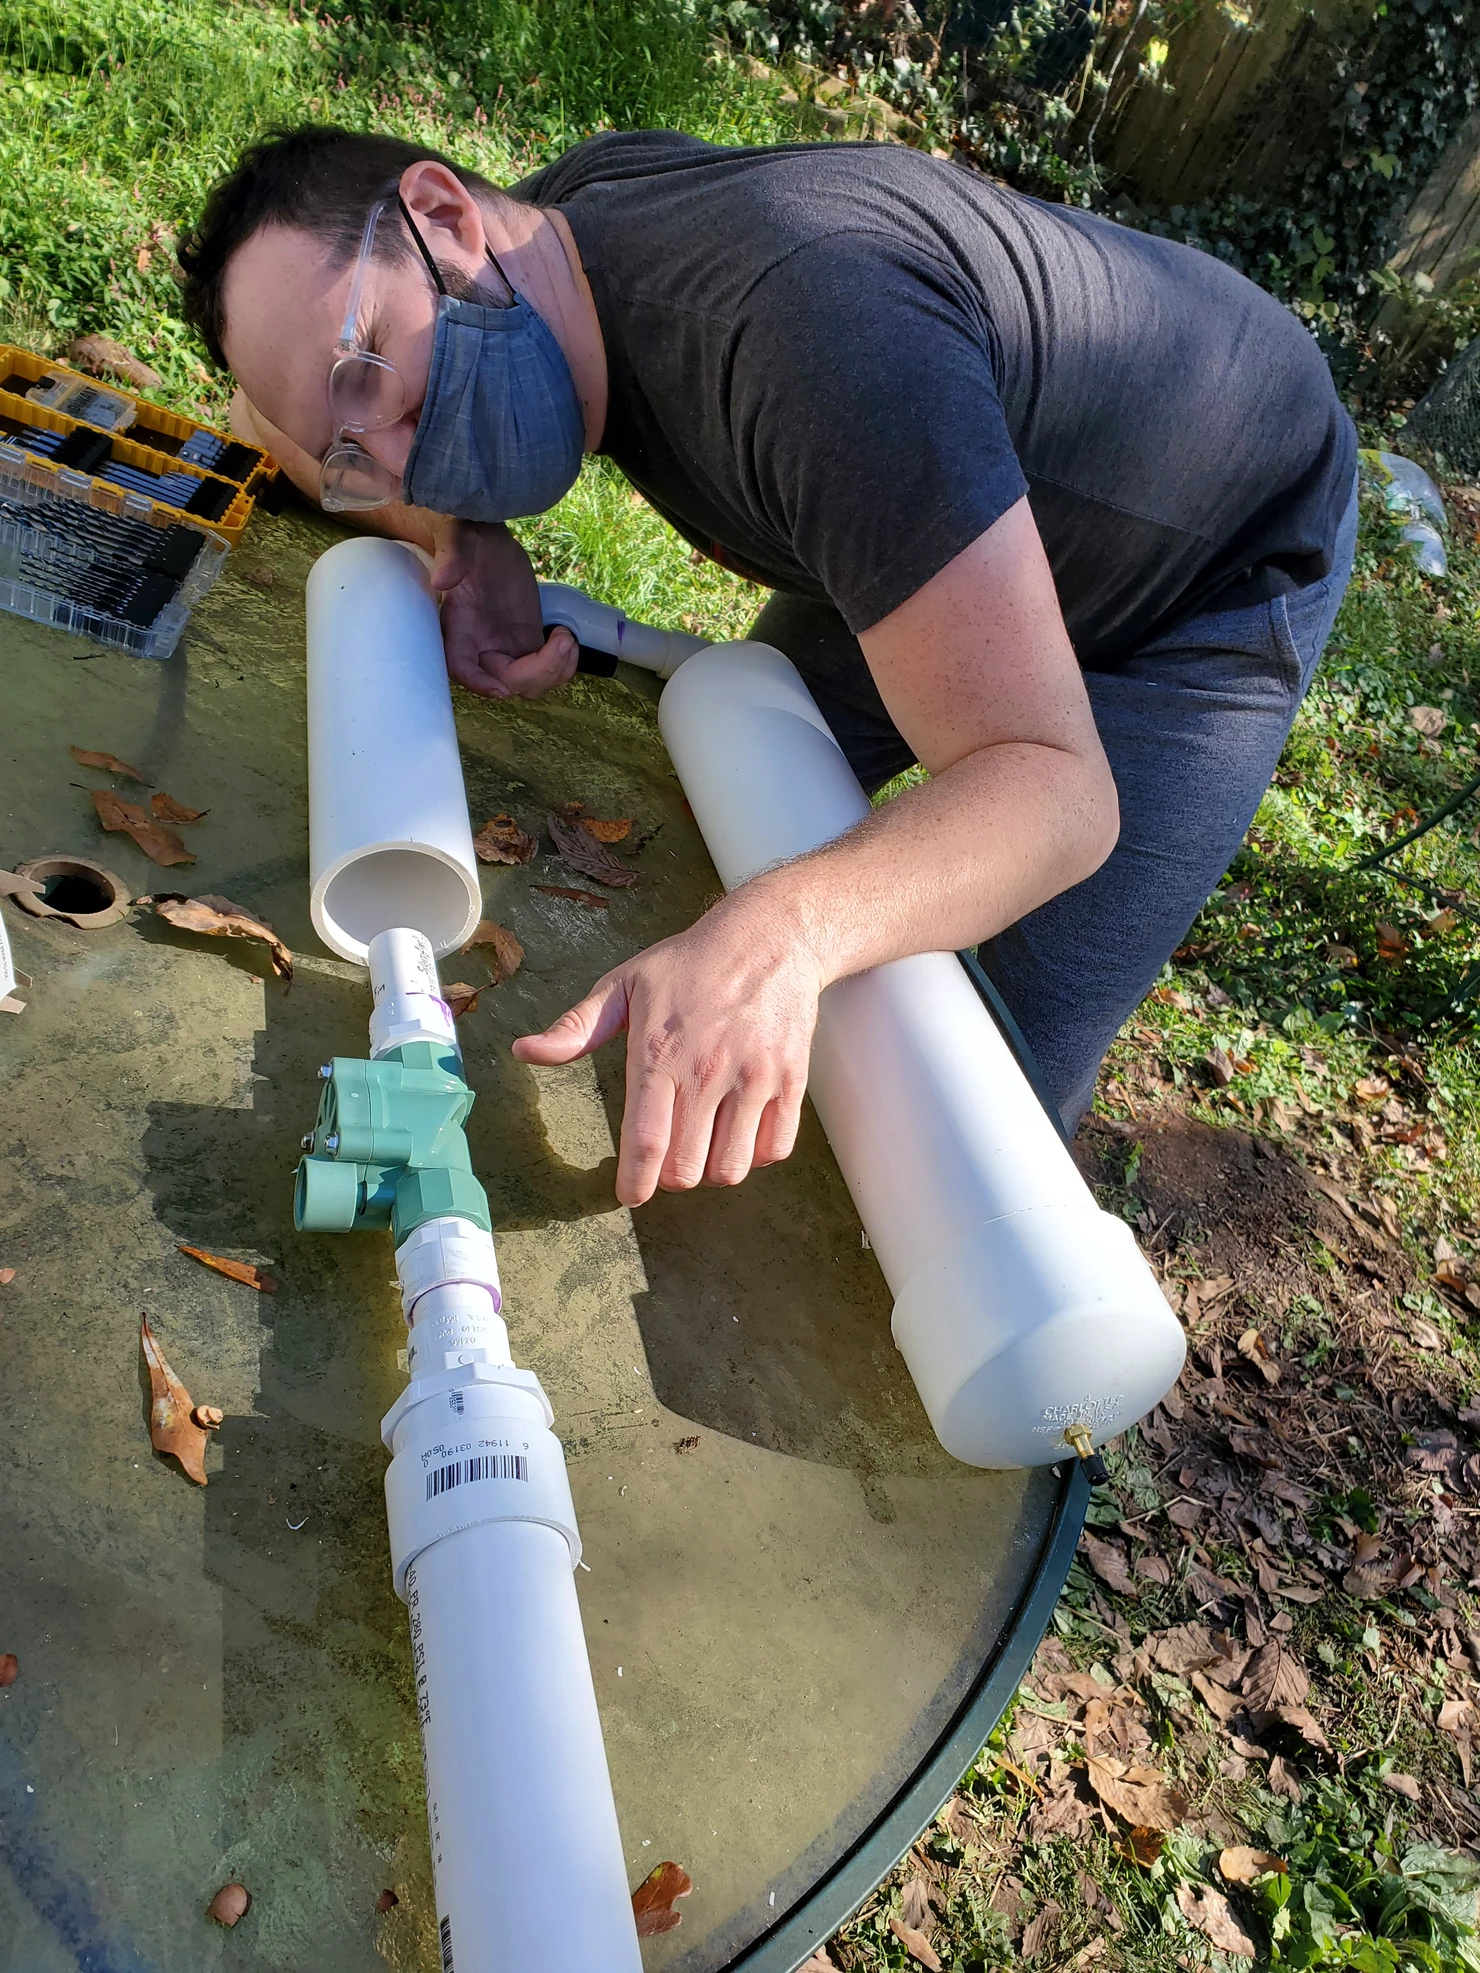
Corrigan testing for grip placement and alignment
What are the next steps dough?
First, to finish the assembly, we need to complete and print the grips; wire up the trigger and power source; finish attaching the PVC pipe; and check for leaks. Then, it's time for a test fire.

“Oh dear...”
If you want to be kept up to date on this project, or just like hearing from us, subscribe to our blog (right here) and our YouTube channel. If you are a Fusion 360 user and need help with your BOM, you can try Bommer out risk-free by clicking here. Or you can read more about Bommer by visiting our home page at https://www.getbommer.com.
The YouTube channel is what you really want though. Here's a taste.
Check out the full video on our Youtube channel to see use this cannon to fire dinner rolls at [REDACTED].
